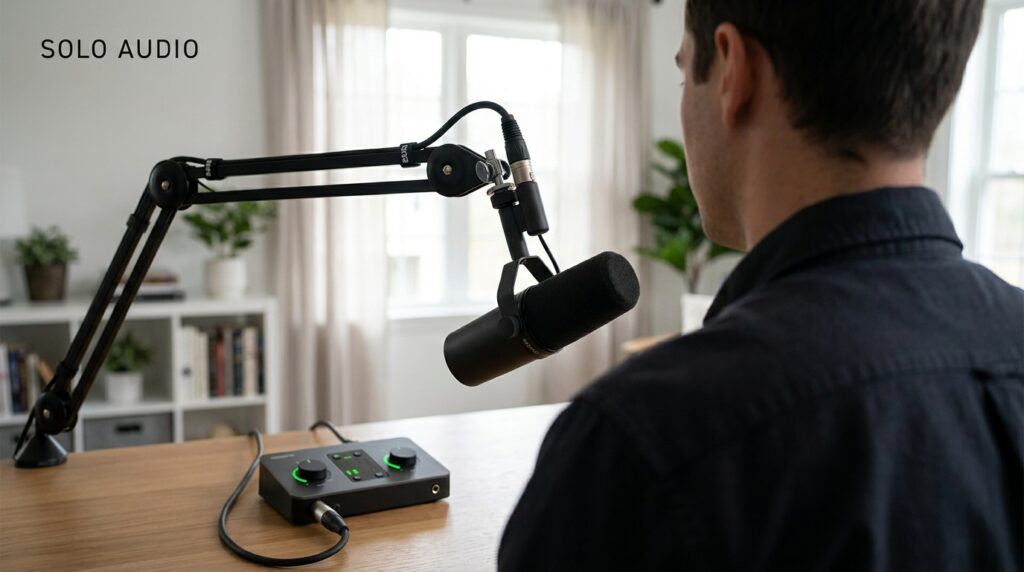
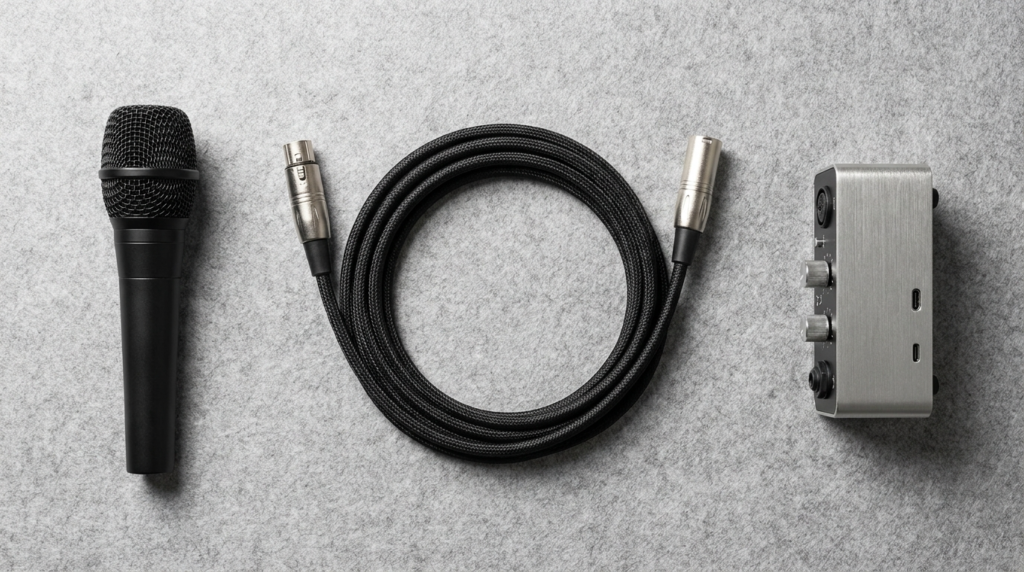
A solo broadcaster needs exactly three hardware components for professional audio. You need a moving-coil microphone, a balanced XLR cable, and a USB audio interface with clean preamps. You do not need a massive mixing board or expensive acoustic foam covering your walls. I see solo news anchors waste thousands of dollars on studio gear designed for recording entire bands. That hardware introduces failure points and complicates your daily workflow. The goal is a minimalist signal chain that captures your voice clearly, rejects background noise, and hits industry-standard broadcast levels every single time you hit record.
The Core Elements of a Solo Setup
Your audio chain starts the moment sound leaves your mouth. A microphone converts those sound waves into an electrical analog signal. That analog signal travels down your cable into your audio interface. The interface converts the analog electricity into digital data for your computer.
I avoid USB microphones completely in professional solo setups. A USB microphone puts the digital converter inside the physical microphone body. Computer processors generate electronic interference. When you put a digital converter millimeters away from an analog microphone capsule, you record that electronic noise. Using a dedicated interface keeps the digital conversion process away from your sensitive audio capture zone.
Moving-Coil vs. Condenser Microphones
Most solo creators start by buying a popular condenser microphone. That is a mistake for an untreated home studio. Condenser microphones are highly sensitive instruments. They pick up computer fans, street traffic, and the sound of your air conditioner.
If you record in a spare bedroom or office, sound waves bounce off bare walls and create an echo. Moving-coil microphones, often called dynamic mics, reject off-axis noise mechanically. Models like the Shure SM58 or Rode PodMic only capture audio right in front of the metal grille. I use moving-coil microphones exclusively for solo broadcast setups. You get a clean, dry vocal track without needing any expensive room treatment.
Microphone Placement Rules
Buying the right microphone means nothing if you place it incorrectly. The distance between your mouth and the microphone controls your entire audio profile. Broadcasters rely on the inverse square law of audio. Getting physically closer to the microphone drops the background noise exponentially.
- Keep the microphone exactly two inches from your mouth.
- Angle the microphone slightly to the side to avoid breath blasts.
- Mount the hardware on a desk boom arm to stop keyboard vibrations.
- Use a thick foam windscreen instead of a plastic pop filter.
- Speak across the top of the microphone grille, not directly into it.
The Three Tier Audio Chain Diagrams
You can achieve broadcast-quality audio at three specific price points. The secret is matching the right microphone with an interface that provides enough clean gain.
Table 1: The $150 Bootstrap Setup
| Component | Hardware Model | Purpose in Chain |
| Microphone | Behringer XM8500 | Vocal capture and noise rejection |
| Interface | Behringer U-Phoria UM2 | Analog to digital conversion |
| Cable | Cable Matters XLR | Balanced signal transfer |
| Mount | InnoGear Desktop Stand | Basic physical placement |
Table 2: The $400 Industry Standard Setup
| Component | Hardware Model | Purpose in Chain |
| Microphone | Rode PodMic | Professional broadcast vocal tone |
| Interface | Focusrite Scarlett Solo | Clean preamp volume boost |
| Cable | Hosa Pro XLR | Electromagnetic noise rejection |
| Mount | Rode PSA1 Boom Arm | Desk vibration isolation |
Table 3: The $900 Premium Broadcast Setup
| Component | Hardware Model | Purpose in Chain |
| Microphone | Shure SM7B | Ultimate off-axis sound rejection |
| Interface | Motu M2 | Premium digital converters |
| Booster | Cloudlifter CL-1 | Adds 25dB of clean analog gain |
| Mount | Yellowtec m!ka Arm | Silent professional positioning |
Solving the Preamp Gain Problem
Your microphone sends a very weak analog signal down the cable. The audio interface uses a component called a preamp to boost that weak signal up to a usable level. Some microphones require massive amounts of gain to reach standard recording volumes.
The Shure SM7B is notorious for having a low output level. If you plug it into a cheap interface, you have to turn the gain dial to maximum. Pushing a cheap preamp to its absolute limit introduces a loud electronic hiss into your recording. I solve this by adding an inline gain booster like the Cloudlifter CL-1. It uses phantom power from the interface to add 25 decibels of perfectly clean volume before the signal hits the preamp.
Interface Settings and Gain Staging
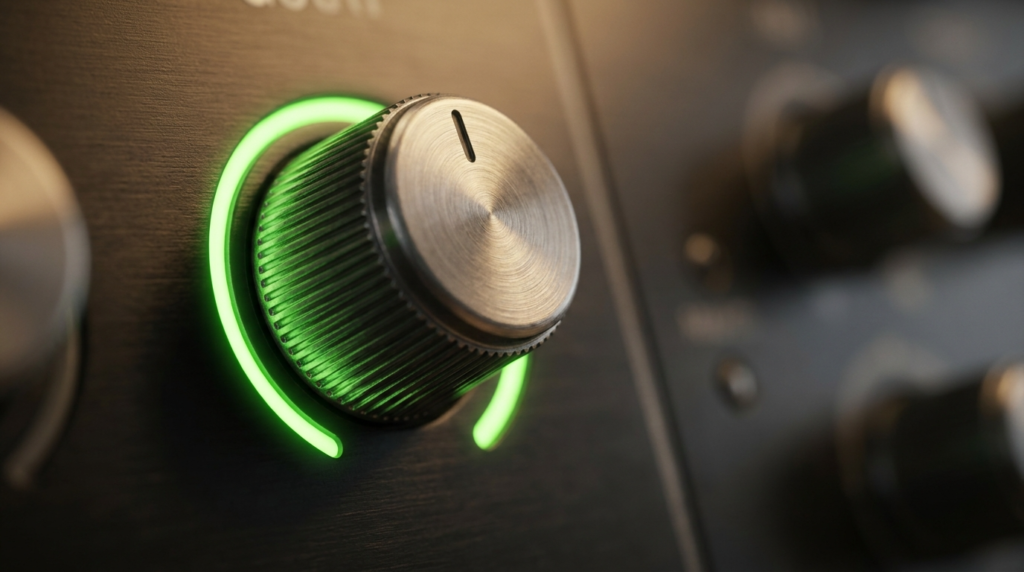
Setting the correct input gain is the single most critical step in your physical audio chain. If your gain is too low, you introduce noise when you boost it later during the editing process. If your gain is too high, the audio clips and permanently distorts. Digital distortion cannot be fixed in post-production.
The Broadcast Sweet Spot
Digital audio uses a scale called decibels relative to full scale (dBFS). On this scale, zero is the absolute maximum limit before the audio distorts. All of your recording levels exist in the negative numbers.
When I test a new audio chain, I speak at my loudest broadcast volume. I physically adjust the interface gain dial until the audio meter in my recording software bounces right between -12 and -6 dBFS. This specific range leaves enough headroom for sudden volume spikes, like a loud laugh, while maintaining a strong signal.
Zero-Latency Direct Monitoring
You need to hear exactly what the microphone hears while you record. Most interfaces have a headphone jack on the front panel. This provides direct monitoring. The analog signal splits before it goes to your computer, sending zero-latency audio directly to your ears.
I use Sony MDR-7506 closed-back headphones for monitoring. Closed-back headphones seal the audio against your head. Open-back headphones leak sound out into the room. If you wear open-back headphones, your microphone will record the audio bleeding out of the ear cups, creating a slight echo in your final track.
Post-Production: The Audacity Workflow
Even with a perfect physical audio chain, you need a software process to standardize your final file. I use Audacity for this workflow because it is highly reliable. You need a repeatable noise profile setup to clean up the microscopic room tone that sneaks through your hardware.
Capturing the Clean Noise Profile
The noise reduction tool needs to learn what your empty room sounds like. You have to feed it pure silence.
- Hit record and sit completely still for exactly ten seconds.
- Do not breathe heavily or touch your desk.
- Highlight this silent ten-second section in the Audacity timeline.
- Click the Effect menu, select Noise Reduction, and click Get Noise Profile.
The Simple Processing Chain
Once the software knows the room profile, you can apply the exact corrections. I run a strict three-step processing chain on every solo voice track.
- Select your entire audio track.
- Apply the Noise Reduction effect with settings at 6dB reduction, sensitivity 6, and frequency smoothing 3.
- Apply a High-Pass Filter EQ set to 80Hz. This removes desk thumps and low air conditioner rumbles.
- Apply the Compressor effect. Set the ratio to 3:1, attack to 2ms, and the threshold to -15dB.
Managing Mechanical Audio Interference
Electronic noise is only half the battle. Mechanical noise ruins professional recordings daily. Typing on a keyboard sends physical vibrations down the desk, up the microphone stand, and straight into the microphone capsule.
I isolate my microphones using mechanical decoupling. A dedicated shock mount suspends the microphone in a web of elastic bands. The rubber bands absorb the desk impacts before they reach the metal microphone body.
Cable Routing and Ground Loops
XLR cables are balanced lines. They contain three pins inside the connector. Two pins carry the audio signal, and the third pin acts as a ground wire. This balanced design cancels out radio frequencies.
You still need to practice physical cable separation. I always run my XLR audio cables far away from my computer power cables. If they must cross, I cross them at a 90-degree angle. Running audio cables parallel to power cables transfers electrical hum into your recording.
A ground loop causes a persistent, aggressive buzzing sound in your audio chain. This happens when your computer and your audio interface plug into two different wall outlets on different electrical circuits. I prevent ground loops by plugging every piece of my broadcast gear into a single high-quality power strip.
Final Output Standards for Solo Newsrooms
Recording great audio is useless if you export it using the wrong digital standards. Video editors and podcast platforms require specific file formats. I always export the final broadcast audio as a 24-bit WAV file. WAV is an uncompressed format that retains all the data you just captured.
Sample Rates and LUFS Targets
Your sample rate determines how many times per second the computer takes a snapshot of the analog audio. For video journalism and solo broadcasting, I set my interface and recording software strictly to 48kHz. Setting it to 44.1kHz will cause your audio to slowly drift out of sync with your video file over a 30-minute broadcast.
The final loudness of your file is measured in LUFS. This stands for Loudness Units relative to Full Scale. YouTube and Spotify penalize files that are too loud by automatically crushing the volume.
- Set your final output limiter to a maximum True Peak of -1dB.
- Target exactly -14 LUFS for YouTube video news broadcasts.
- Target exactly -16 LUFS for Apple Podcasts and audio-only RSS feeds.
- Target exactly -23 LUFS if you are sending the audio to a traditional television network.