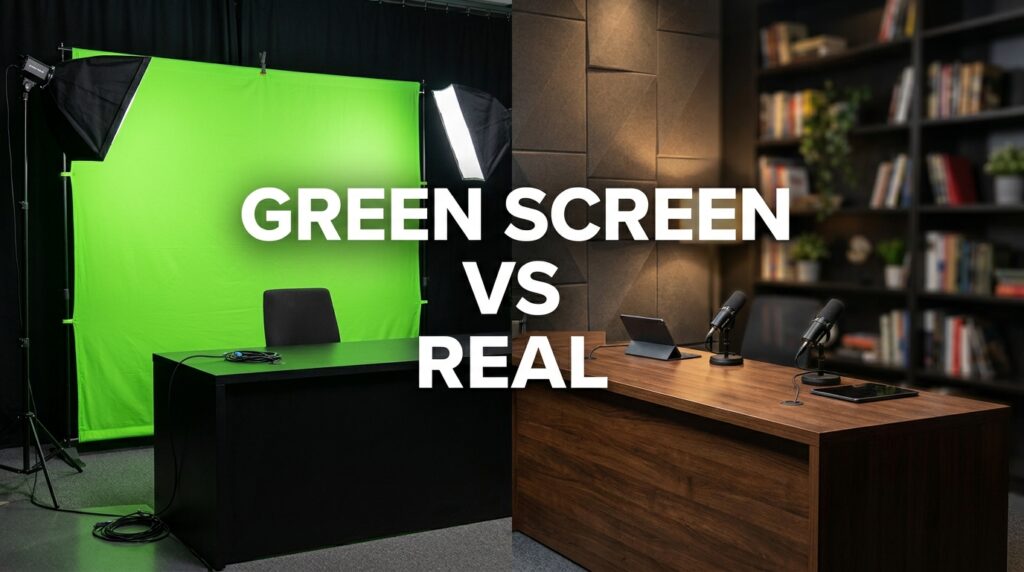
If you are building a one-person news commentary channel, you face an immediate choice. Do you build a physical set with real depth, or do you light a green screen to simulate a broadcast studio? The right choice depends entirely on your room dimensions, your lighting budget, and how you handle chroma key spill around a bright anchor desk.
Searchers constantly ask if a virtual background works for a professional presenter. The short answer is yes. The realistic answer is that making a green screen look like a major news network takes more technical skill than nailing a few acoustic panels to a wall. Most tutorials cover green screens for video game streamers. Gamers sit in dark rooms with small face cams. News presenters require broad, flat, even lighting to project authority. That completely changes the physics of your studio setup.
Why the Streamer Setup Fails for News
A gaming streamer can buy a cheap pop-up green screen and use a single ring light. That works because their camera feed gets shrunk to a tiny box in the corner of the screen. Artifacts disappear at that size.
A news presenter fills the entire frame. Your audience stares at your face, your shoulders, and your hands for twenty minutes at a time. If the edges of your hair shimmer with digital noise, you lose credibility instantly. If your virtual studio background looks like a flat JPEG, viewers click away.
The Physics of Chroma Key Spill
Green screens work by blasting bright light onto a neon green surface. That light bounces off the screen and hits the back of your head. This is called green spill.
When you sit at a physical anchor desk in front of a green screen, the problem multiplies. The green light hits your physical desk, bounces up under your chin, and makes you look physically sick. Software tries to remove the color green. If the light bouncing onto your face is tinted green, the software starts erasing parts of your skin.
You cannot fix this with a better camera. You have to fix it with light and distance.
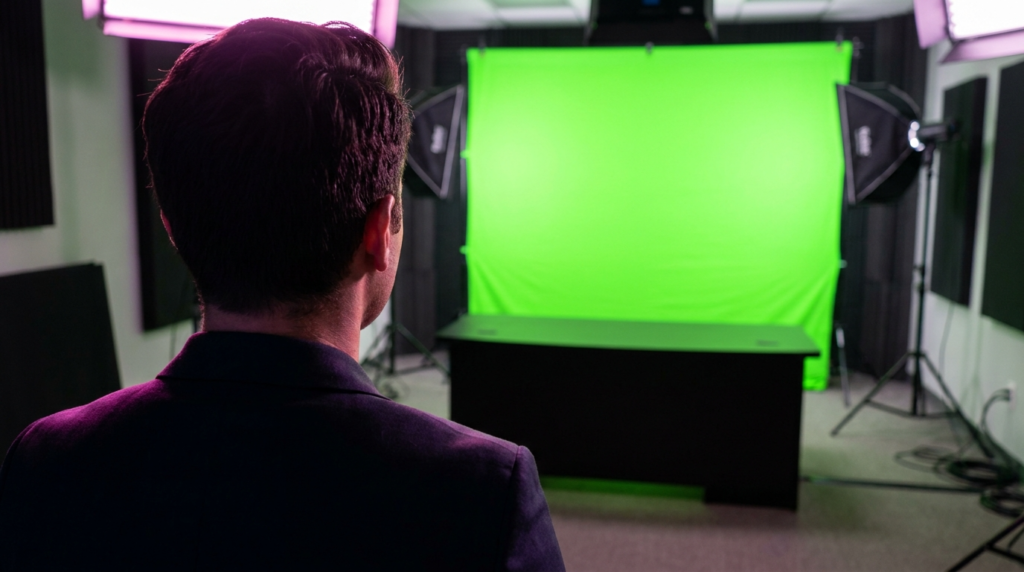
Beating Green Spill with Distance
You need physical space between you and the backdrop. If your chair rests against the green screen, you will never get a clean key.
- You need at least 6 feet between the back of your chair and the green screen material.
- You need another 3 feet between your face and your camera lens.
- You need space behind the camera for your teleprompter and key lights.
A proper green screen news desk requires a room at least 12 to 14 feet long. If you try to force this setup into an 8-foot spare bedroom, the green light will bounce off every wall and ruin your broadcast.
Exact Kelvin Temperatures to Kill Spill
When I configure small-room broadcast studios, I use color temperature to fight green spill. Digital sensors perceive green and magenta on opposite ends of a spectrum. You can use this to your advantage.
Set your background lights (the ones pointing at the green screen) to a daylight temperature of 5600K. Set your key light (the one lighting your face) warmer, around 4500K. Finally, place a hair light directly above you, pointing down at your shoulders.
Put a slight magenta gel over that hair light. The magenta physically cancels out the green light bouncing off the backdrop before it hits your camera lens. This single adjustment separates amateur YouTube channels from professional solo broadcasters.
Physical Backdrops: The High-Fidelity Anchor Desk
A physical set solves the green spill problem entirely. What you see on camera is exactly what exists in the room. Companies like Elgato and Aputure make practical lights that allow you to paint a real wall with color, rather than relying on software.
Physical sets look expensive because they have real depth of field. You can achieve optical background blur (bokeh) using a fast lens. A Sony 35mm f/1.8 or a Sigma 16mm f/1.4 will naturally blur a bookshelf behind you. This guides the viewer’s eye exactly where you want it: on you.
Space Requirements for Physical Sets
You still need room depth for a physical set. If your back touches the wall, the shot looks flat and claustrophobic.
To get that premium, blurry background, you need separation. Position your desk at least 5 to 7 feet away from the background props. The camera needs to sit fairly close to you. This creates a shallow depth of field.
Acoustic Treatment and Hard Surfaces
Physical sets introduce a massive audio problem. Wood desks, glass shelves, and painted drywall are hard surfaces. Human voices bounce off hard surfaces. This creates a hollow, echoing sound that ruins the “news anchor” authority.
Green screen fabrics actually help absorb high-frequency sound. A physical set requires hidden acoustic treatment.
- Place heavy sound blankets on the floor under your desk.
- Mount acoustic foam panels on the ceiling directly above your microphone.
- Hide sound-absorbing bass traps behind your visible background props.
- Use a dynamic broadcast microphone like the Shure SM7B or Electro-Voice RE20 to reject room echo.
The One-Person Newsroom Decision Matrix
Before buying gear, compare your specific constraints. I use this matrix when planning new channel launches.
| Production Factor | Green Screen Studio | Physical Set |
| Minimum Room Depth | 12+ feet (to stop light spill) | 8+ feet (can use wide lenses) |
| Minimum Lighting Setup | 4 to 5 separate light sources | 2 to 3 light sources |
| Editing Time (Pre-recorded) | High (rendering chroma keys takes time) | Low (no rendering required) |
| Live Streaming Impact | Requires heavy GPU processing | Zero extra computer processing |
| Acoustic Profile | Fabric absorbs minor room echo | Hard props increase room echo |
Software Settings for Live Broadcasters
If you choose the virtual studio route and broadcast live, you rely on software to do the heavy lifting in real-time. OBS Studio and vMix handle chroma keying very differently.
vMix offers a professional-grade color keyer that handles transparent shadows nicely. OBS Studio is free but requires exact dial-tweaking to look passable. Do not rely on the default OBS settings. They leave a jagged grey outline around your hair.
Camera Shutter Speed Secrets
Before touching software sliders, check your camera’s shutter speed. When you wave your hands on a green screen with a slow shutter speed like 1/30 or 1/50, your camera introduces motion blur.
Your hand visually blends into the green background. Software cannot key out a blurred edge. You end up with ghostly, disappearing fingers on screen. Increase your shutter speed to 1/100 or 1/120. This keeps your edges crisp when you move. The software can easily track and remove the green.
My Baseline OBS Chroma Key Filters
Add a Chroma Key filter to your camera source in OBS. Start with these baseline numbers, then adjust slightly based on your specific room lighting.
| OBS Filter Setting | Starting Value | Purpose |
| Key Color Type | Green | Defines the target color. |
| Similarity | 380 – 410 | Controls how aggressive the color removal is. |
| Smoothness | 40 – 60 | Softens the jagged pixel edges around your shoulders. |
| Key Color Spill Reduction | 50 – 100 | Desaturates leftover green bouncing onto your skin. |
Push the Similarity slider up until the gray static in the background just barely disappears. Stop immediately. If you push it too far, your eyes and teeth will start to vanish. Use the Smoothness slider to clean up the edges.
If your skin still looks slightly sickly, increase the Key Color Spill Reduction. This forces OBS to pull saturation out of the green spectrum specifically on your face.
Avoiding the “Floating Torso” Effect
Many solo news creators buy a virtual 3D newsroom background from stock footage sites. They sit in a standard office chair, key out the background, and place the 3D studio behind them.
This creates the “floating torso” effect. Your body looks completely disconnected from the virtual floor behind you. Your lighting casts shadows in the wrong directions. The perspective lines of the 3D desk do not match the angle of your real camera.
Grounding the Shot
To fix this, you must ground yourself in the frame. You need a physical object in the foreground to tie you to the scene.
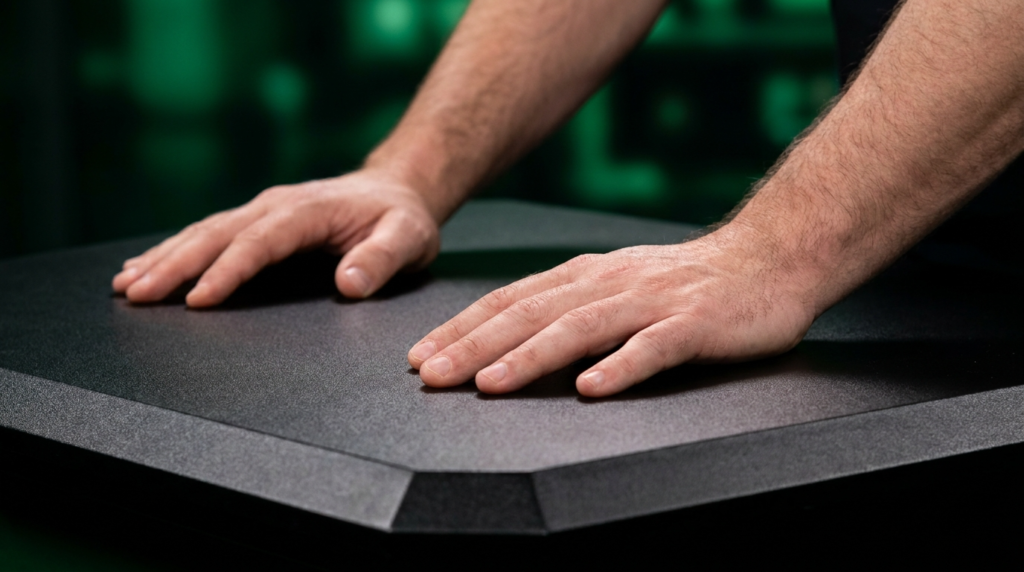
Buy a cheap, matte black desk. Sit exactly as you would at a real news desk. Rest your hands on the physical desk. Position your camera so the bottom frame line cuts right across the edge of that real desk.
Now, when you drop your 3D background into OBS, you have a physical anchor point. The virtual studio exists behind you, but you are interacting with a real object in the foreground. This tricks the viewer’s brain. The perspective feels grounded.
Make sure the physical desk has a matte finish. Wood grain contact paper works well. If you use a glossy white desk, it will reflect the green screen directly into the camera lens, ruining the illusion entirely.
Evaluating Your Post-Production Workflow
Your choice between a physical and virtual set dictates your entire weekly schedule.
Shooting a daily news commentary show requires speed. If you build a physical set, you hit record, talk, stop, and drop the footage on a timeline. You can cut the audio gaps and upload it in under an hour. A decent laptop like an M1 MacBook Air handles this easily.
Green screens slow down the post-production pipeline. If you shoot in 4K resolution to maintain edge clarity, your video files are massive. Dropping an Ultra Key effect onto a 4K timeline in Adobe Premiere Pro or DaVinci Resolve instantly bogs down the system.
Rendering out a 20-minute 4K video with a complex chroma key takes serious processing power. If your computer lacks a dedicated graphics card, a 20-minute video might take two hours to render. You lose the ability to react quickly to breaking news.
If you want the green screen look without the rendering wait times, you have to process the key live. Feed your camera into OBS, set up your key filters, and hit the “Record” button in OBS. The software processes the key in real-time and spits out a finished file. You trade slight video quality compression for massive time savings in your workflow.