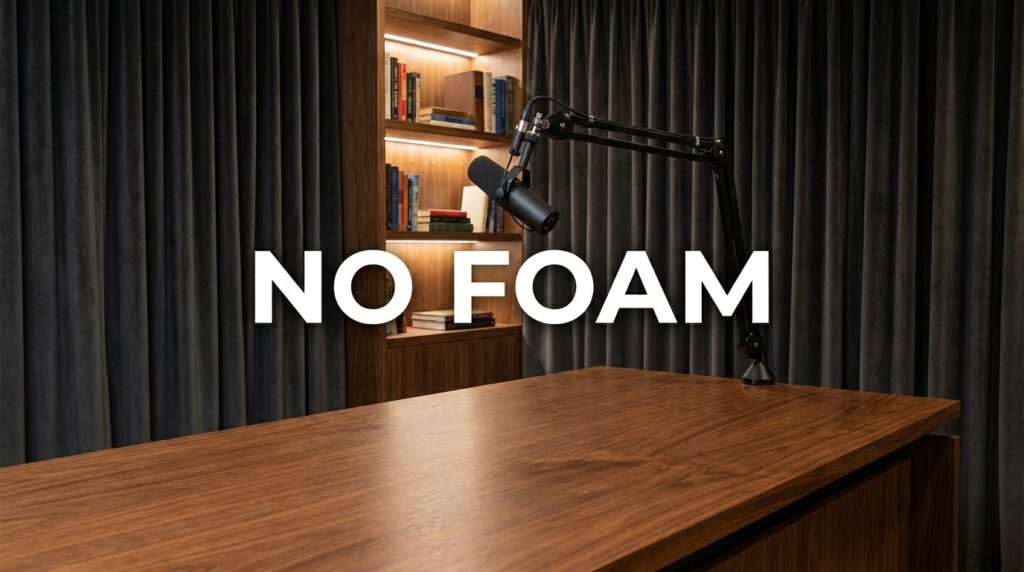
Hollow, echoing audio ruins a professional video setup faster than bad lighting. Viewers will tolerate a slightly grainy camera feed if the information is good. They click away in seconds if you sound like you are broadcasting from an empty hallway. Most creators reflexively buy cheap polyurethane foam panels from Amazon. Foam squares look incredibly amateur on a news backdrop. They scream “budget gaming setup” rather than “trusted broadcast authority.” I build single-operator news sets where the acoustic treatment remains entirely invisible to the viewer. We control room reverberation using household geometry, dense textiles, and out-of-frame absorption.
The Problem with Traditional Studio Foam
Polyurethane wedges reflect a cheap visual aesthetic. They also fail miserably from a pure acoustic standpoint. Foam panels only absorb high frequencies. They ignore the muddy low-mid frequencies where most of the human voice lives. Male voices generate significant energy around 100Hz to 200Hz. Thin foam lets these sound waves pass right through, bounce off the drywall, and hit your microphone. You end up with a booming, muffled sound profile that lacks clarity. We fix this by replacing visible foam with strategic mass and organic diffusion.
Invisible Sound Absorption Strategies
Positioning Heavy Drapes Behind the Camera
The wall directly behind your camera is your primary reflection point. When you speak, sound waves project forward, hit that back wall, and bounce straight back into your microphone capsule. You must kill these specific reflections. I use heavy theater drapes hung on an industrial tension rod. We push this fabric rig right up against the wall directly behind the camera tripod. You cannot just use thin living room curtains. You need a fabric weight of at least 25 ounces per linear yard.
Commando cloth or heavy velour works best for this application. The secret is in the pleating. Do not stretch the fabric out flat against the wall. You want the drape bunched up tightly so it forms deep, thick folds. These vertical folds act as a physical trap for sound waves. The wave enters the fold, bounces between the fabric layers, and loses its energy before it can return to your microphone.
Rug Placement for Floor Reflections
Hardwood floors look fantastic on camera. They are terrible for spoken-word audio clarity. Sound bounces off the edge of your broadcast desk, hits the hard floor, and reflects up into the microphone stand. A standard, thin area rug does almost nothing to stop this acoustic reflection. You need physical density. I always place a thick recycled felt pad entirely out of frame under the main rug. This hidden layer provides actual acoustic mass.
Look for a 100% recycled jute or felt pad. Get the half-inch thickness. A 40-ounce per square yard pad absorbs frequencies down to 250Hz. The camera only sees a neat, professional rug. The microphone hears a deadened, controlled floor space.
Floor Covering Acoustic Performance
| Floor Material | Thickness | High Frequency Absorption | Low/Mid Frequency Absorption |
| Bare Hardwood | N/A | Near Zero | Near Zero |
| Standard Area Rug | 0.25 inches | Poor | Near Zero |
| Rug + Rubber Pad | 0.40 inches | Moderate | Poor |
| Rug + 0.5″ Felt Pad | 0.75 inches | Excellent | Moderate |
Organic Sound Diffusion Patterns

Bookshelf Diffusion Strategies
Small home offices suffer from standing waves. Sound gets trapped bouncing back and forth between parallel walls. Instead of trying to absorb every sound wave, we scatter them. Professional recording studios use expensive wooden diffusers that look like jagged cityscapes. We replicate this exact scattering effect using an ordinary bookcase in the background of your shot.
Do not line your books up perfectly flush with the edge of the shelf. You must stagger them. Push one thick book back two inches toward the wall. Pull the next thin book forward an inch.
- Alternate hardcover and paperback books to create irregular physical depths.
- Stack a few books horizontally while keeping the surrounding books vertical.
- Leave random empty gaps on the shelves to break up the flat surface continuity.
- Place dense, odd-shaped objects like ceramic mugs or small potted plants between book clusters.
High-frequency sound waves hit this irregular wall of books and shatter into dozens of smaller, weaker reflections. They bounce off at random angles instead of firing straight back at your desk. It looks like a completely natural office environment. It functions as a highly effective acoustic diffuser.
Strategic Furniture Placement Angles
Never leave the walls adjacent to your desk completely bare. Flat, parallel walls create flutter echo. This is the metallic, ringing sound you hear when you clap your hands in an empty room. We fix flutter echo by aggressively angling furniture. Pushing a sofa flat against a wall does not help much. Angling a heavy fabric armchair at 45 degrees across a room corner breaks up the 90-degree angle of the drywall.
Soft, dense furniture acts as a rudimentary bass trap. The fabric absorbs mid-range frequencies. The angled placement physically redirects the remaining sound waves away from your microphone zone.
Treating the Unseen Angles
Under-Desk Acoustic Absorption
Your main broadcast desk is a massive reflective surface right next to your audio source. Sound bounces off your chest, hits the hard desktop, and fires upward. We cannot treat the top of the desk without ruining the visual shot. We treat the underside instead. I take thick moving blankets and staple them directly to the bottom of the wooden desk.
You can also use rigid fiberglass panels if you want a cleaner install. Use spray adhesive and attach two-inch thick Owens Corning 703 panels directly above where your knees sit. This area is entirely out of frame. It significantly reduces the low-mid frequency build-up that makes voices sound hollow and distant.
Ceiling Cloud Placement
The ceiling is just a giant bare wall suspended directly above your head. It causes severe vertical audio reflections. If your ceiling is framed out of your camera shot, you can suspend an acoustic cloud directly over your chair. I wrap rigid fiberglass boards in cheap, white breathable cotton fabric.
We suspend this panel two inches below the ceiling drywall using standard picture wire and eye hooks. The white fabric makes the panel blend seamlessly into the standard white ceiling paint. Leaving a two-inch air gap between the panel and the ceiling makes the fiberglass twice as effective at absorbing lower frequencies. The sound wave passes through the panel, hits the ceiling, bounces back, and hits the panel a second time.
Testing Your Room Audio Profile
Free RT60 Measurement Method
You need hard data to know if your furniture and drape placements actually work. RT60 stands for Reverberation Time. It strictly measures how long it takes for a sound to decay by exactly 60 decibels in a specific room. For a spoken-word news set, your target RT60 should sit precisely between 0.3 and 0.4 seconds. Anything higher sounds like you are sitting in a cavern. Anything lower sounds unnaturally dead and uncomfortable to listen to.
You do not need expensive studio measurement microphones to test this. You can measure your current room decay using your smartphone.
- Download a free acoustic analysis app. AudioTool works perfectly for Android devices. ClapIR provides great results for iOS devices.
- Open the app and navigate to the RT60 measurement module.
- Stand exactly where your desk chair sits during normal filming.
- Hold your phone up near your typical microphone position.
- Pop a balloon or slap two pieces of heavy wood together loudly. A simple hand clap often lacks the low-frequency energy needed for a full room reading.
- Review the decay chart generated by the app. Look specifically at the decay times between 250Hz and 2000Hz.
Target RT60 Times for Content Creators
| Content Type | Target RT60 Time (Seconds) | Audio Profile Characteristic |
| Voiceover / Audiobook | 0.15 – 0.25 | Extremely dry, zero room tone |
| News Desk / Talking Head | 0.30 – 0.40 | Natural, clear, controlled |
| Live Music Performance | 0.80 – 1.20 | Live, spacious, blending |
| Untreated Bedroom | 1.50+ | Echoing, hollow, amateur |
Building the Final Out-of-Frame Setup
Managing Corner Frequencies
Low frequencies always gather in the ninety-degree corners of your room. This causes a muddy, booming effect on your vocal track. If the back corners of your room are out of frame, you can stack heavy absorption there for very little money. I use heavy rolls of standard pink fiberglass attic insulation.
Leave the insulation tightly sealed inside its original plastic packaging. Stack the rolls from the floor to the ceiling in the front two corners of the room behind your camera. Throw a black curtain or blanket over the stack to hide the pink plastic. This acts as a massive, highly effective bass trap. The plastic wrapping reflects high frequencies back into the room to keep it from sounding dead, while the dense fiberglass completely absorbs the problematic low-end rumble.
The Monitor Reflection Problem
Computer monitors act like acoustic mirrors right in front of your face. If you use teleprompters, confidence monitors, or large screens to read your news copy, they bounce your voice straight back into the mic. Simply angle your monitors slightly upward. Even a sharp five-degree tilt changes the geometry of the room. It redirects the vocal reflection toward the ceiling instead of straight back at your face. If you installed the ceiling cloud mentioned earlier, that specific upward reflection is absorbed instantly.
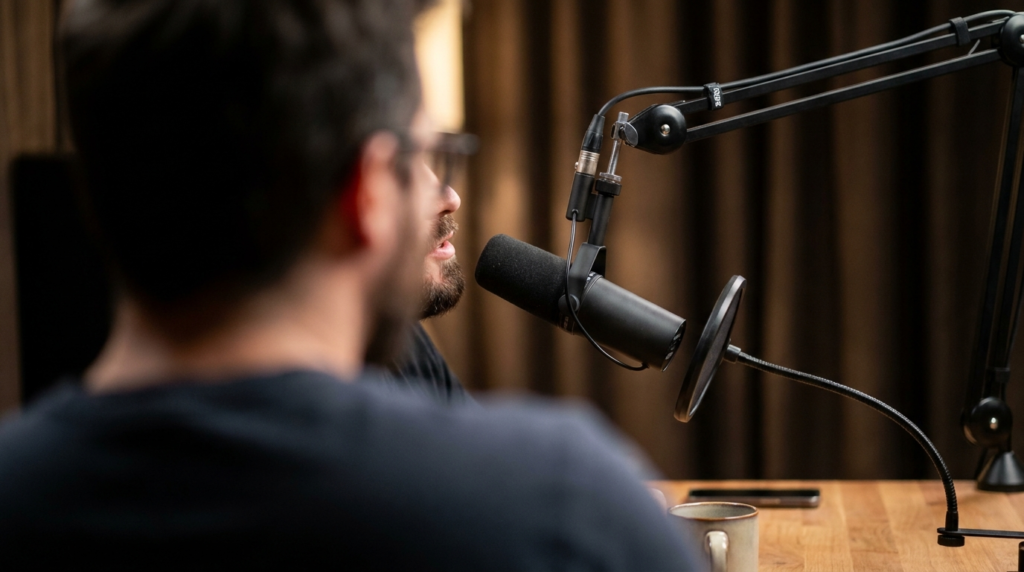
Microphone Placement and Rejection
Treating the room solves the environmental problem. Microphone technique solves the rest. Do not place your microphone two feet away from your mouth to keep it out of the shot. Sound operates on the inverse square law. Every time you double the distance between the source and the mic, the sound pressure level drops by 6 decibels. You are forcing the microphone to listen to the room rather than your voice.
Bring the microphone close. A dynamic broadcast microphone like a Shure SM7B or an Electro-Voice RE20 rejects background room noise aggressively, but only if it sits within four inches of your mouth. Mount it on a low-profile boom arm coming in from the bottom of the frame. Keep the capsule pointed at your chin, not your nose. This minimizes plosives while keeping the microphone element physically blocking the path of sound bouncing off the desk. Combine tight microphone placement with strategic off-camera mass, and your home office will sound exactly like a million-dollar studio.