Most tutorials tell you to set up a key light, a fill light, and a backlight. If your room is smaller than 10 feet, this advice will ruin your footage. The fill light will bounce off the adjacent wall, destroying your contrast. The backlight will spill directly into your camera lens. The physics of small spaces require an entirely different approach.
You need to abandon the traditional three-point setup. In an 8×8 or 9×9 room, standard lighting fails because light bounces uncontrollably. You lose all background separation. You end up with a flat, webcam-style image. To replicate a high-end broadcast interview look in a tight space, we use a modified two-point system. We replace the fill light with negative fill. We replace the backlight with color contrast.
Why Standard 3-Point Lighting Fails Here
Light follows the inverse square law. It falls off quickly in intensity as it travels. In a large studio, the light that misses your body hits a far wall and dies. In a 9-foot room, that same stray light hits a white wall two feet away from your shoulder. It bounces right back onto your face.
Your carefully planned shadows disappear immediately. This ambient bounce acts as an uncontrollable, massive fill light.
To get a professional broadcast look, you need contrast. We measure this contrast in ratios. A standard news interview uses a 3:1 or 4:1 lighting ratio. That means the bright side of your face is three or four times brighter than the shadow side. You cannot achieve this specific ratio in a small room if you turn on a dedicated fill light. The ambient bounce already fills the shadows. Adding a second fixture flattens the image entirely.
The Modified 2-Point Broadcast Setup
You only need two active light sources and one passive modifier to light a small room. We use a key light for exposure, a practical light for background depth, and negative fill to carve out shadows.
Controlling the Key Light
Your key light provides the main exposure. You need a soft light source, but you must completely control the spill. A bare softbox throws light 180 degrees in all directions. In a small space, you must attach a 40-degree honeycomb grid to the front of the softbox.
This grid forces the light to travel in a straight line. It hits your face and stops. It prevents the light from wrapping around and hitting the back wall.
Place the key light 45 degrees to your side. Elevate it so the center of the light points down at your nose at a 30-degree angle. This creates a small triangle of light on your opposite cheek. This is standard Rembrandt lighting, and it works perfectly for broadcast interviews.
Selecting the Right Diffusion Materials
Softness depends on the size of the source relative to the subject. In a tight room, you cannot back the light up to manage intensity. You must use heavy diffusion to soften the hard shadows without moving the stand. Standard thin softbox baffles often fail in this environment.
Swap the factory diffusion for a Half Grid Cloth or Magic Cloth. A Half Grid Cloth eats about one full stop of light output. It scatters the beam wider inside the softbox housing. This creates a much softer, more flattering wrap around your jawline.
Hitting the Correct Broadcast Lighting Ratios
You do not guess the contrast. You measure it in stops. One stop equals a doubling or halving of light intensity. If you drop the light by one stop, you cut the brightness in half.
| Ratio | Stop Difference | Visual Effect | Best Use Case |
| 1:1 | 0 Stops | Completely flat, zero shadows | Passport photos, low-end webinars |
| 2:1 | 1 Stop | Slight shadow, very safe | Morning talk shows, corporate updates |
| 4:1 | 2 Stops | Defined contrast, professional depth | Premium broadcast interviews |
| 8:1 | 3 Stops | Heavy shadow, dramatic | Documentaries, cinematic profiles |
If your key light exposes the bright side of your face at an f/4, your shadow side needs to measure at an f/2 to hit a exact 4:1 ratio.
Measuring with False Color
The most accurate way to verify these stops is using the false color tool on your camera monitor. False color maps different exposure levels to specific colors on your screen.
Set your exposure so the bright side of your face shows up as pink or light grey. This represents roughly 55 to 65 IRE on a waveform monitor. To get a 4:1 ratio, look at the shadow side of your face. Adjust your negative fill until that shadow side turns green or dark grey. This indicates a two-stop drop in exposure.
Replacing the Fill Light with Negative Fill
Do not turn on a second light to manage shadows. Place a 4×4 foot solid black flag or a black V-flat directly opposite your key light. Put it as close to your chair as possible, just out of the camera frame.
The black material absorbs the ambient light bouncing off your white walls. It literally subtracts light from the shadow side of your face.
This technique drops your shadow side exposure by exactly one to two stops. You instantly achieve the 2:1 or 4:1 broadcast ratio without plugging in another fixture. If the shadow is too dark, simply move the black flag six inches further away from your body.
Creating Separation Without a Dedicated Backlight
Standard setups use a hard backlight to separate your shoulders from the background wall. In a 10-foot room, the light stand will be visibly in your shot. If you try to hide the stand directly behind your chair, the light fixture will hit the low ceiling and spill onto your lens.
Using Color Contrast
You must separate yourself from the background using color temperature instead of brightness. Set your key light to a daylight color temperature of 5600K. Place a small practical light on a shelf or desk in the background.
Set the practical light to tungsten, around 3200K. The cool white daylight on your face pulls you forward toward the viewer. The warm orange light pushes the background away. This optical illusion creates depth in a flat room.
Managing Background Exposure
Your background must be darker than your face. If the wall behind you matches your face exposure, the image looks entirely two-dimensional.
Keep the background exposure exactly one to two stops darker than your skin tone. If you are sitting three feet from the wall, the spill from your key light will likely illuminate that wall too much. You must flag the key light. Clamp a piece of black cinefoil to the side of your softbox. Bend the foil so it blocks the light path hitting the wall behind you, while keeping the light on your face.
Small Room Gear Modifications
Standard studio gear takes up too much footprint. You need specific equipment designed to stay out of the frame while delivering high output.
| Standard Studio Gear | Small Room Alternative | Reason for Change |
| 48-inch Octabox | 35-inch Parabolic Softbox | Fits closer to the subject, steeper light angle. |
| C-Stands for all lights | Wall-mounted baby plates | Removes tripping hazards, clears floor space. |
| 300-watt Key Light | 60-watt to 100-watt Key Light | Less heat generation in a closed room, less wall spill. |
| White bounce boards | Black V-Flats / Sound Blankets | Absorbs bounce instead of reflecting it. |
Exact Small Room Execution Checklist
Here is the exact step-by-step physical build for a room under 10 feet.
- Turn off all overhead room lights to kill the yellow ambient wash.
- Mount a 60-watt or 100-watt daylight LED fixture to a heavy-duty light stand.
- Attach a 35-inch parabolic softbox equipped with a 40-degree fabric grid.
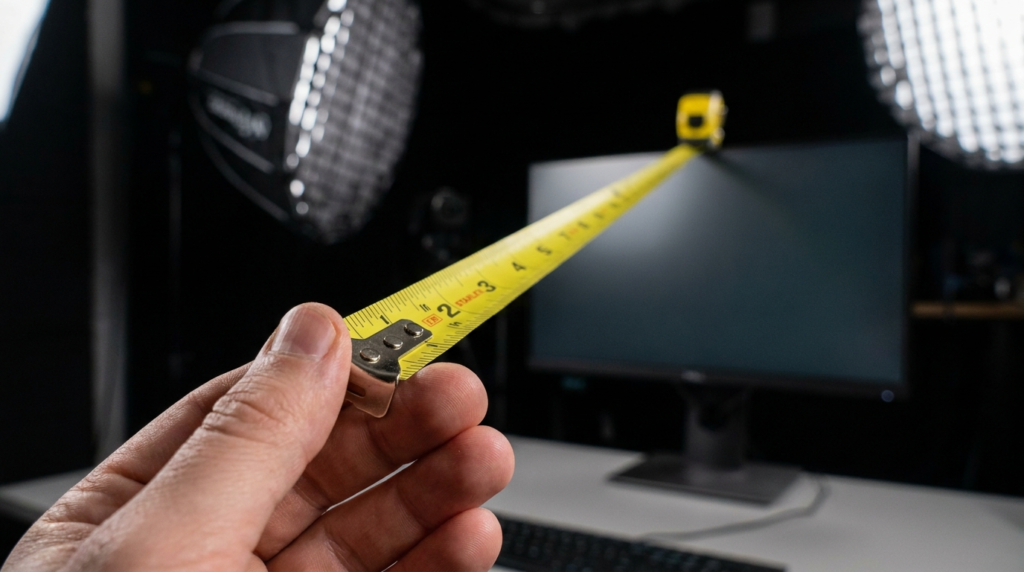
- Position the key light 3 feet from your face at a 45-degree angle.
- Hang a heavy black sound blanket on a stand two feet from your unlit side.
- Place a 15-watt warm desk lamp three feet behind you, framed over your weak shoulder.
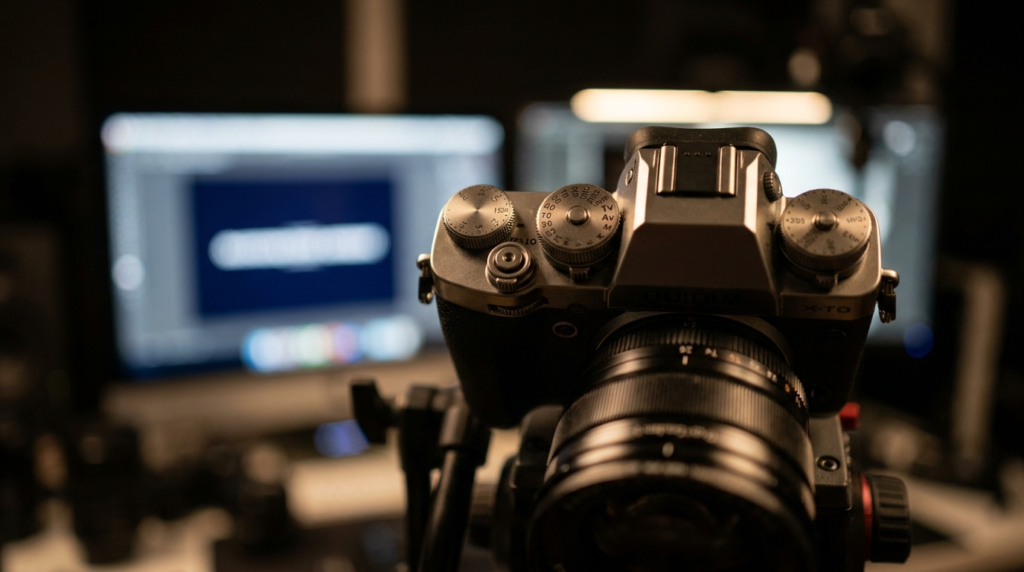
- Expose your camera so the key side of your face hits 60 IRE.
Once your key light is locked, look at your monitor. Check the shadow side of your face. Move the black sound blanket closer until the shadow deepens to your desired 4:1 ratio. Adjust the background desk lamp until it provides just enough warm color to separate your shoulder from the dark wall. Lock your white balance manually to 5600K so the camera does not try to correct the warm background lamp.